


Effective Gel Nail Repair at Home: A Step by Step Guide
Learn how to fix gel nails without the help of a nail technician. In our step-by-step guide you will find the necessary materials and tools, as well as detailed instructions for preparing nails, removing the coating and applying the gel. Create the perfect manicure and keep its beauty for a long time.
Content
- Preparation of materials
- Disinfection
- Nail preparation
- Gel application
- Gel varnish
- Frequently Asked Questions
- How often do you need to correct gel nails? 🔄💅
- What kind of instrumentation should be used for home correction? 🔧🛠️
- Can you remove gel from your nails yourself? 🚫💅
- How to take care of your nails after correction? 💧💅
- How to determine when correction of gel nails is necessary? ⏰💅
Gel nails are visually appealing only in the beginning, during the first 3-4 weeks. However, as time passes, they begin to grow back, and the appearance of the coating loses its neatness: cracks or chips appear, and the gel peels off. Today we will tell you about how to carry out nail correction without a master.
Preparation of materials
You will need a number of tools and accessories to prepare materials for the correction of your nails. They will help you create the perfect manicure and preserve the beauty of your nails for a long time. Let's consider the necessary materials in more detail:
- Nail drying lamp. This is an important device that allows you to cure the gel coating, ensuring its long-term durability. Ultraviolet (UV) lamps and light-emitting diode (LED) lamps are the most common options. UV lamps are suitable for all types of gel coatings, but require a longer curing time. LED lamps dry the gel in seconds, however some gel brands may not be compatible with LED lamps. Before buying a gel, be sure to check the information on the bottle about compatibility with your chosen lamp.
- Gel extensions. Gels are the main material for creating and strengthening artificial nails. They can be one-, two- or three-phase. For use at home, the most suitable option is a single-phase gel. It combines the functions of a base coat, modeling gel and finishing layer.
- Saws. Nail files are necessary for shaping the nails and processing the plate around the cuticle. For shaping the nail it is better to use a straight file. To treat the area around the cuticle it is recommended to use a saw with a "boomerang" shape. Metal files are preferable to plastic, as they provide a more accurate correction of the shape of the nails.
- Buff. Baff is a block with different degrees of hardness on each side. It is necessary for grinding and polishing the nail plate, giving it smoothness and shine.
- Pusher. A pusher, also known as a spatula with a knife, is used to push back and remove cuticle. It helps prepare the nail surface before applying gel coat.
- Brushes. The application of gel requires a brush with straight edges, which will ensure even distribution of the material. To create designs and drawings on nails it is recommended to use a brush with narrowed ends, which will facilitate the accuracy and detailing of work.
- Primer. Primer is necessary to degrease the nail plate and create a better bond between the gel and the nail. This will help to prolong the durability of the gel coating.
- Gel-lacquer. When choosing gel-lacquer, pay attention to its composition. It is desirable to avoid products containing formaldehyde, toluene and dibutyl phthalate, as they can cause allergic reactions. Pay attention to the mark "3-free", it indicates the absence of these elements in the composition of gel-lacquer.
- Hand and nail antiseptic or alcohol. Antiseptic or alcohol will help to sanitize your hands and nails before the procedure, ensuring a high level of hygiene.
In addition to basic materials, the following items may be needed:
- Special brushes for removing nail dust. A lint-free cloth can be used instead.
- Milling machine. The milling machine allows you to quickly remove the old coating and give shape to the nails. You can also use metal files for these purposes.
- Orange stick for pushing back the cuticle. This tool is made of wood and does not leave cuts, unlike a pusher.
- Manicure scissors. Necessary if you need to trim the cuticle.
- Cleanser. Cleanser is used to degrease the nails before applying gel-lacquer, but as an alternative you can use alcohol.
- Rhinestones, glitter, foil. These materials are used to create designs and variety in the monotone coating, especially if you are not sure of your drawing skills.
- Paper or plastic molds. They can be useful if you want to change the length or shape of your nails.
- Cuticle oil. Oil helps to improve nail growth. Alternatively, you can use olive oil or castor oil.
If you extend your nails only a few times a year and the rest of the time you prefer to have a regular manicure, it is more cost-effective to go to a master than to buy all the necessary materials for extension at home. The price of gel nail correction procedure is on average 45 Georgian GEL, which is a more economical option compared to buying all the materials and tools yourself.
Appropriate preparation of materials for correction of nail extensions plays an important role in achieving a quality result. Be careful when choosing materials and follow the instructions for their use to create well-groomed and attractive nails.
Disinfection
In the field of professional beauty salons, a dry oven is widely used for effective disinfection of instruments, even in cases where they have been in contact with wounds or blood of clients. However, such a device can also be used at home to replace a conventional oven. Let's start with the basic steps required to carry out this procedure:
- Preheat the oven to 180-200 degrees Celsius to create optimal conditions for disinfection.
- Place the metal files and pushers on the tray so that they do not touch each other. It is important to remember that there should be no plastic elements on the tools, as they can melt at high temperatures.
- Place the instruments in the preheated oven and leave them there for 15 minutes. During this period of time, the dry oven will effectively destroy all bacteria and microorganisms, providing reliable disinfection.
Additionally, the following measures should be taken to maximize safety and hygiene when correcting your extended nails:
- It is important to pre-treat all surfaces you plan to interact with with alcohol or other antiseptic agent. This will help eliminate possible germs and bacteria, minimizing the risk of infection.
- Don't forget about proper hand hygiene. Be sure to wash your hands using antibacterial soap for at least 20 seconds before beginning the procedure. If you do not have access to water, you can use an alcohol-based antiseptic for added protection.
These are just the basic steps for safe and effective disinfection prior to nail extension correction. Following all of these steps will help reduce the likelihood of infections and provide reliable protection for you and your clients.
When performing a disinfection procedure before correcting your nail extensions, it is important to keep in mind that germs and bacteria can be present not only on the tools, but also on other surfaces. For example, disinfecting the table and work area is also an important aspect of maintaining a high level of hygiene.
To thoroughly clean the table before the procedure, it is recommended to use a disinfectant specifically designed for this purpose. Such products ensure the effective elimination of bacteria, viruses and other microorganisms, contributing to a safe and hygienic working environment.
Also remember to keep your tools up to date and replace them when necessary. Regularly replacing saws, pushers and other tools helps prevent bacteria buildup and ensures a high level of sterility.
In addition, regular training and updating your knowledge of disinfection and sanitation techniques are important aspects of being a nail extension technician. Adhering to modern safety standards will help you to provide high quality services, keeping your clients safe and comfortable.
Nail preparation
- To achieve soft cuticles, you can either apply oil or dip your nails in warm water for five minutes.
- Take a pusher and place it at a 40-degree angle to the nail. Move smoothly to the base, pushing away the softened cuticle. If it has grown a lot, you can use manicure scissors or a pusher to trim it.
- Let's move on to removing the coating. There are two ways:
- Using a buff and file: start by rolling the hard side of the buff to remove the top layer. Then, using a straight file, gently remove the coating from the sides and from the base of the nail to the edge. When working near the cuticle it is recommended to use a boomerang-shaped file.
- Using a cutter: turn the machine on at 15,000-20,000 revolutions and move the ceramic nozzle from the base to the edge of the nail.
- Be sure to check that there are no air pockets or peeling gel on your nails. If you find even millimeter problems, remove them immediately. Otherwise, the delamination may progress and the correction will not bring the desired result.
- Separate from the dust with a brush or lint-free cloth soaked in alcohol.
- To pre-treat and degrease the nails before coating, it is recommended to use a primer.
Gel application
When applying single phase gel to your nails, following certain steps and techniques plays an important role. This text is a step-by-step guide that will allow you to achieve a high quality and professional result.
- Nail Preparation. Before starting the gel application process, it is necessary to properly prepare your nails. Make sure that the nail surface is clean and dry. If necessary, remove the remains of the old coating with the help of special means. Then gently push back the cuticle using a wooden pusher. This step will help to create an even base for gel application.
- Application of single-phase gel. Take a straight-edged brush and apply a thin layer of single-phase gel to each nail. It is recommended to start from the center of the nail and spread the gel evenly to the edges. To create a more voluminous effect, add a little more gel closer to the end of the nail. Remember that even and neat application of gel is the key to achieving a long-lasting and long-lasting finish.
- Gel drying. In order for the gel to polymerize, a drying process is necessary. There are two main methods: UV lamp and LED lamp. In the UV lamp it is recommended to carry out the drying process for two minutes, while the LED lamp requires only one minute. Drying the gel in the lamp will help ensure polymerization and stability of the coating.
- Nail Shaping. After drying the gel, it is necessary to level the shape of your nails. To do this, use a special file. First, carefully file the sides of the nail, creating the desired shape. Then evenly file the surface of the nail to eliminate irregularities and create a smooth surface. It is important to remember to be careful when filing so as not to damage the new gel coat. Use a soft brush or a special brush to remove the dust created by filing.
- Final step. After performing nail shape alignment, the surface may have some sticky layer. To remove it, use alcohol or a special cleanser, applying it to a cotton disk or napkin. Gently wipe the surface of the nail, removing the sticky layer and giving the coating a finished look.
To achieve maximum resistance and durability of gel coating, it is recommended to re-degrease the nails with primer before applying colored gel or subsequent stages of manicure. The primer will help to strengthen the adhesion of the gel with the natural nails, providing a more durable and reliable coating.
So, by following these steps and techniques, you will be able to apply single phase gel on your nails in a professional manner. Remember, practice and experience are key to perfecting your craftsmanship. Regular training and experimenting with different techniques will help you achieve the best results in nail services.
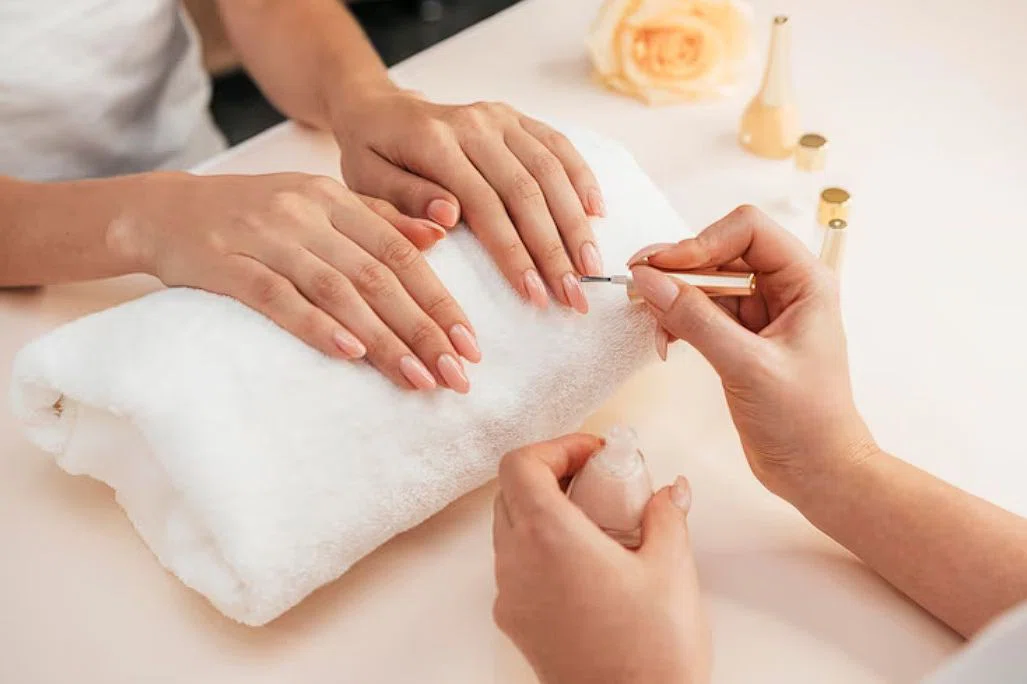
Gel varnish
- Carefully and evenly apply a layer of gel polish on the nail surface, avoiding the cuticle.
- Then dry the gel polish in a special lamp: for LED lamps it will take 20 seconds and for UV lamps - 40 seconds.
- Repeat this procedure with each finger. If you use gel-lacquer of light shades, it is recommended to apply them in two or three layers for a more saturated color.
- If you want to create a decorative element on artificial nails using rhinestones, apply another layer of gel polish and carefully attach the rhinestones using a brush with a narrow end.
- After the design is complete, apply a single-phase gel in one layer and place your nails under the lamp for a few minutes. Then remove any irregularities with a polishing file.
- Finish your manicure by treating your fingers and nails with a nourishing oil, massaging it in thoroughly so that it absorbs like a cream.
Gel polish correction on artificial nails can be done at home if you have small cracks or your nails have grown back a bit. However, if your nail plate is flaking badly, your manicure was done more than a month ago or you have a broken nail, it can be difficult to achieve the desired result without experience. You will spend a lot of time experimenting, while the master will need only a few hours to perform the correction. Therefore, it is advisable to enroll with a professional to avoid nail damage and unnecessary costs due to possible mistakes.
When it comes to covering your nails with gel polish, there are a number of interesting and useful aspects worth mentioning. Apart from the technique of applying and drying gel polish, it is also important to pay attention to the right choice of shades and care of the coating.
Frequently Asked Questions
How often should gel nails be corrected? 🔄💅
It is recommended to do a correction every 2-3 weeks to keep them in good condition and maintain their longevity.
What kind of instrumentation should be used for home correction? 🔧🛠️
For home correction you will need: sandpaper files of different grits, buffer, wooden stick for pushing back cuticles, clips for removing gel, special liquids for removing gel.
Is it possible to remove gel from nails on your own? 🚫💅
It is not recommended to remove gel from your nails yourself, especially if you have no experience. It is better to contact a professional to avoid damaging your natural nails.
How to care for your nails after correction? 💧💅
After correction of gel nails, regularly apply nourishing oil to your nails and cuticles to moisturize and strengthen them. It's also important to avoid contact with harsh chemicals and use gloves when doing household chores.
How can you tell when gel nails need correction? ⏰💅
If you notice that your nails start to pull back from the cuticle, cracks appear or become less strong, this is a signal for correction.


7 comments
Log in to leave a comment
Пробовала делать себе маникюр с покрытием сама - не пошло. А в последнее время предпочитаю не делать наращивание и покрытие.