


Washing Machine Water Leak: Causes and Solutions
Learn how to deal with the problem of water leaking from the washing machine door. This article discusses possible causes and solutions, such as checking for cracks in the powder compartment, removing lime deposits on the door glass, and evaluating the functionality of the hinges. Checking for contamination between the machine body and the cuff is also considered. Avoid leaks and keep your washing machine running properly with these tips.
Content
- Check for deposits on the bottom of the door glass
- Check the door hinges for proper function
- Check for dirt between the washing machine housing and the cuff
- Check the cuff for cracks
- Check if the lock is working properly
- Frequently asked questions
- What can cause a leaking washing machine door?
- How to eliminate leaking due to a damaged sealing gum?
- What should I do if the door does not close tightly?
- How to prevent leaking due to overfilling the machine?
- How do I know if the O-ring needs to be replaced?
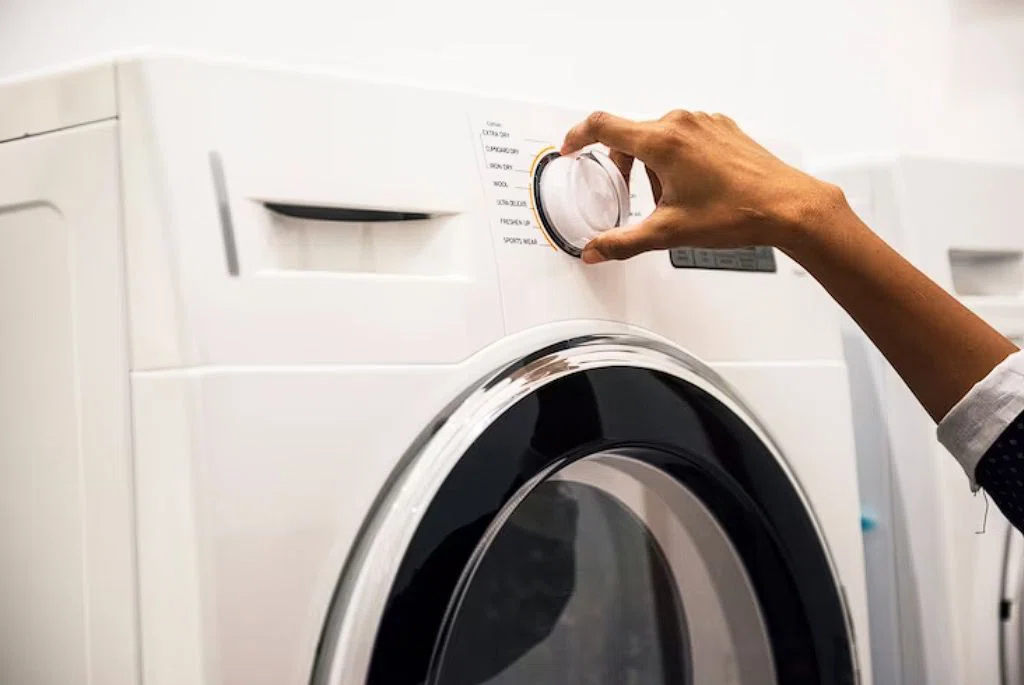
Let's take a look at what to do if you suddenly started seeing moisture marks on the outside of your washing machine door.
Before you start reading this article, it is recommended that you check for leaks in the powder compartment. If cracks are noticeable, it is possible that water is accumulating on the door of your washing machine and dripping onto the floor. In such a case, the best solution is to purchase a new compartment - these can be purchased online. Use a search by typing in "where to buy a tray/capacity/detergent compartment for your machine model".
Check for deposits on the bottom of the door glass
It is common for lime from water to accumulate on the bottom of the washing machine door glass. This build-up occurs over time and can result in a layer of lime up to 2-3 mm thick. Once this happens, the door no longer fits tightly to the machine and water starts to leak. This is a problem that many washing machine owners face, and it's important to know how to deal with it.
There are several effective methods you can use to remove lime deposits on the bottom of the door glass. One of them is to thoroughly clean the scale with a metal brush or a coarse material with abrasive particles. In doing so, pay special attention to the area where the door is loose. Be careful not to damage the glass or other parts of the machine while cleaning.
Now let's look at some additional interesting facts about lime buildup on washing machine door glass. Lime is a precipitate formed from mineral salts such as calcium and magnesium dissolved in water. When the water evaporates, these salts remain on the surface of the glass and form a layer of lime. This phenomenon is often seen in areas with hard water containing high levels of mineral salts.
In addition to a loose fitting door, lime deposits on glass can have other negative effects. They can reduce the transparency of the glass, making it less visually appealing. Lime can also cause white spots to appear on dishes after washing. This occurs when flaking lime particles mix with the water and settle on the dishes as unwanted marks.
To prevent lime from accumulating on the door glass, there are a few recommendations. First, clean your machine regularly to remove limescale and lime, following the manufacturer's care instructions. Second, using dishwashing liquid that contains anti-calcium ingredients can help reduce scale buildup. You may also consider installing additional filters or water treatment systems to improve the quality of the water entering the machine.
Assess the performance of the door hinges
Evaluating the performance of the door hinges is an important aspect to ensure proper operation of washing machines. In this context, the hinges play a key role in holding the door in place and providing a tight seal, preventing water from escaping and ensuring that the washing machine functions efficiently.
In the course of using your washing machine, hinges can sometimes fail or lose their functionality. In such cases, it is important to assess the condition of the hinges and take the appropriate steps to fix or replace them.
The first step in evaluating the hinges is to check that they are stable. It is advisable to move the hinges in different directions and pay attention to any irregular movement or possible gaps between the hinges and their attachment point. If normal, the hinges should be securely fastened and should not wobble, and there should be no visible gaps.
If hinge performance problems are found, appropriate corrective action should be taken. In some cases, tightening the hinges with a screwdriver is sufficient. However, if the problem persists, it may be necessary to replace the hinges with new ones.
When replacing the hinges, make sure that the new hinges match the model and make of the washing machine. It is recommended that you contact the manufacturer or service center for advice on selecting and installing new hinges.
It is important to note that assessing the performance of the door hinges should be done periodically, especially when any problems with the door of the washing machine occur. This will allow for the timely identification and repair of possible malfunctions, ensuring proper operation of the washing machine and preventing possible damage or water leaks.
Additionally, it is worth noting that the use of special lubricants or oils can help the door hinges function more smoothly. If necessary, the manufacturer or a specialist can be consulted for advice on suitable lubricants and their application.
Check for dirt between the washing machine housing and the collar
The cuff is a flexible rubber part that fits snugly against the washing machine housing, ensuring that the door is airtight. However, sometimes various contaminants can accumulate between the cuff and the casing, which can impair its functionality. Therefore, it is important to periodically check for such contaminants to avoid potential problems.
When checking, the first step is to move the cuff slightly away from the machine itself. This will allow you to inspect the space between the cuff and the body to see if there are any contaminants. Sometimes small pebbles or grains of sand that remain on your clothes can penetrate this area. As a result, the seal of the cuff can be compromised and it is possible for water to leak through the door.
If you find dirt, it is important to take steps to remove it. You can use a sponge and an old toothbrush for this purpose. Wet the sponge liberally in water and gently go over the area between the body and the cuff, removing any visible dirt. If the dirt is very heavy, you can wet the toothbrush slightly and gently clean hard-to-reach areas. After removing the dirt, wipe the place with a dry cloth.
It should be noted that regularly checking and cleaning the area between the washer body and the collar is an important aspect of keeping the machine running efficiently. This will help you avoid unpleasant surprises related to water leaks and door damage. In addition, taking care of your washing machine in this way will extend its lifespan and help you keep the quality of your laundry at a high level.
But the possibilities don't stop there! To ensure the optimal condition and performance of your washing machine, you can also pay attention to other important aspects of its maintenance. For example, regularly check and clean the filter to prevent it from clogging and ensure that the machine functions properly. Also, keep an eye on the level and quality of the detergent you use to avoid improper washing and possible damage. Remember that proper care of your washing machine will keep it in top condition for many years to come.
Checking the cuff for cracks
Over time, every cuff is subject to wear and tear: unpleasant tears and cracks form on its surface, through which water unwantedly penetrates.
But how can this problem be solved? There are several options. First, you can carry out the replacement of the cuff. But this is far from such a simple task, as it may seem. Inexperienced people often make mistakes, choosing an unsuitable cuff or damaging it in the process of installation. Therefore, it is recommended to contact a qualified specialist who will cope with the task flawlessly. The master will be able to suggest what kind of cuff should be purchased or can do it himself. In addition, he will quickly remove the old cuff and install the new one without error. Do not consider such a service overly expensive, on average, the master will take about 50 Georgian lari for his work.
But how to determine whether the cuff should be changed at all? One effective method is to check the cuff for cracks. Let's look at a few ways to perform this check.
The first method is visual inspection. Carefully examine the surface of the cuff and pay attention to possible cracks or tears. Pay special attention to the transitions and seams, since it is in these places that defects are often formed. If you notice any damage, this is a signal to replace the cuff.
The second method is a tactile check. With your finger gently pass over the surface of the cuff, paying attention to its condition. If you feel bumps, roughness or any other anomalies, it may indicate the presence of cracks.
The third method is the water test. Before you remove the old cuff, you can conduct a small experimental test. Pump a small amount of air inside the cuff and immerse it in water. If air starts to escape or water penetrates the cuff, this is a clear indication of cracks or defects. This test will help you to determine the condition of the cuff more accurately and decide whether to replace it.
If you want to replace the cuff yourself, use the following instructions:
- Prepare Phillips and flathead screwdrivers.
- Start removing the old cuff. There will be a metal part at the bottom, which must be bent with a flathead screwdriver. This way, you will be able to remove the outer collar of the cuff.
- Next, you will have to remove the entire faceplate. Usually it is attached with bolts. You will need a Phillips screwdriver here.
- After that, you can remove the remaining parts of the collar.
- Clean the area where you will be installing the new cuff. You can use alcohol or detergent for this.
- Insert all parts of the new collar except the outer collar.
- Close the faceplate again.
- Install the outer collar of the new cuff.
Checking the performance of the lock
When checking the lock for proper operation, it is important to pay attention to several key aspects. The presence of an intact collar, the absence of deposits on the glass and the integrity of the hinges are the primary signs that the lock is working properly. However, there are additional aspects that should be considered to more fully verify that the lock is working properly.
The first step in checking the lock is to make sure the door is closed tightly. Water may start leaking if the lock does not close properly. It is advisable to check how easy or difficult it is to close the door and make sure that it slides into place without any interference.
If the lock is difficult to close or does not close tightly, it may be due to wear and tear on the lock mechanism or improper installation. In such a case, it is recommended to contact a qualified locksmith who specializes in lock repair and maintenance.
An experienced locksmith will be able to diagnose the lock and determine the source of the problem. He or she can offer options for repairing or replacing the lock, depending on the extent of the damage. It is important to remember that attempting to repair the lock on your own can only exacerbate the situation, so it is better to entrust this task to an experienced professional.
When contacting a master, you can get recommendations on purchasing a new lock, if its replacement is necessary. Locksmiths who repair locks usually know where to purchase quality parts and locks. Some of them may even offer you options of locks from different manufacturers considering your requirements and budget.
Purchasing a new lock requires an appropriate approach and careful selection. It is important to consider not only the price, but also the quality, reliability and durability of the lock. The master will be able to advise you in detail about the options available on the market and help you make the right choice.
Thus, checking the performance of the lock includes not only superficial signs, such as the integrity of the cuff and the absence of deposits on the glass, but also deeper aspects, such as the tight closing of the door and the correctness of the lock mechanism. If problems are detected, it is recommended to contact an experienced locksmith who can help solve the lock problem and offer repair or replacement options, ensuring the safety and security of your home.
Frequently Asked Questions
1️⃣ What could be the cause of a leaking washing machine door?
It can be caused by a damaged or worn sealing gum, incorrect door installation, lock problems or overfilling the machine.
2️⃣ How do I fix a leak due to a damaged O-ring?
Replace the o-ring with a new one that is compatible with your washing machine model.
3️⃣ What to do if the door does not close tightly?
Check the condition of the lock and, if necessary, adjust it or replace it.
4️⃣ How can I prevent leaks due to overfilling the machine?
Do not overload the machine and follow the recommended guidelines for laundry volume.
5️⃣ How do I know if an o-ring needs replacing?
If the O-ring is worn, damaged or does not seal properly, we recommend replacing it.


5 comments
Log in to leave a comment