


Hemming curtains: choosing a method and making it yourself
Learn about three methods of hemming curtains: hand sewing, using adhesive tape, and using a sewing machine. Learn how to prepare the fabric, measure the desired length and fasten the edges. Choose the appropriate method depending on your preferences and skills. Hem the curtains yourself to achieve a high-quality and professional result.
Content
- Step 1: Preparing the workplace and necessary tools for work
- Step #2. Preparing the fabric
- Step #3. Measuring the required length
- Step #4. Fixing the edge of the curtains
- In what cases should I consult a specialist?
- Frequently Asked Questions
- Why do curtains need to be hemmed?
- How much does it cost to hem curtains?
- Is it possible to hem curtains myself?
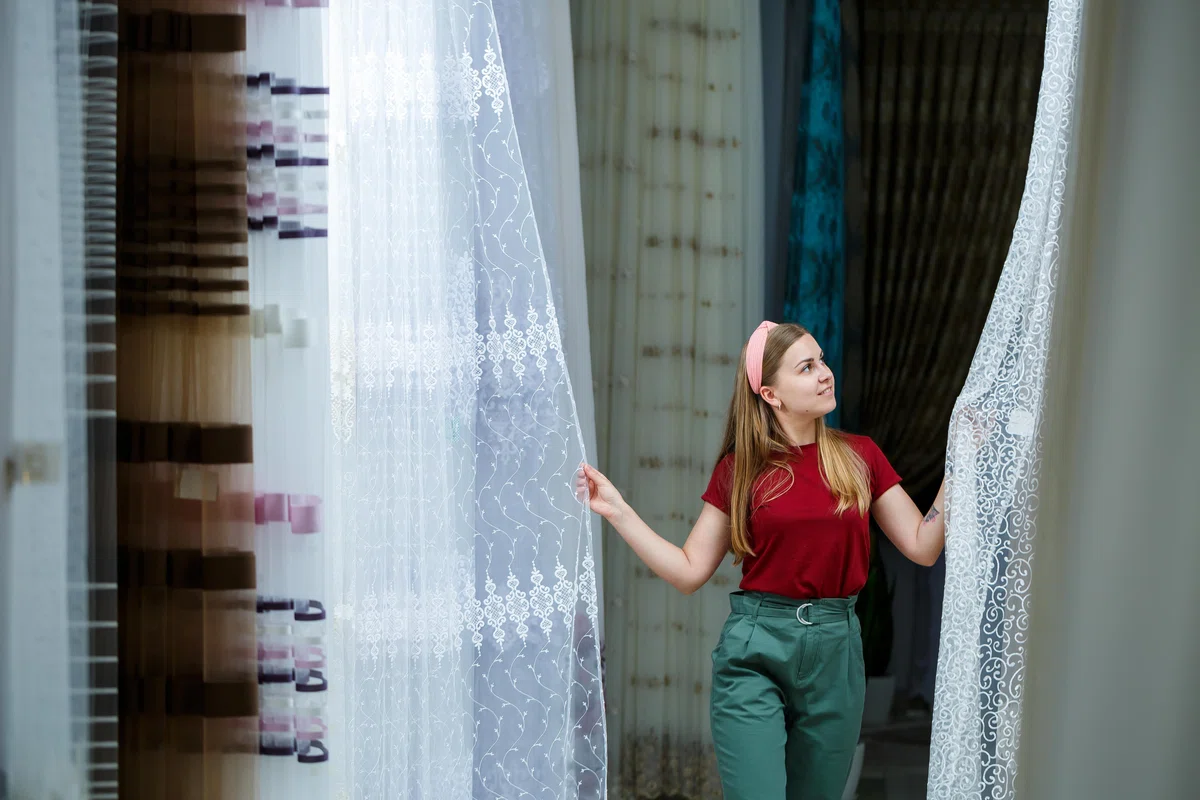
After purchasing the curtains, it is often necessary to adjust them to the width of the curtain rod, shorten them and trim the edges. For this purpose, there are three ways: manual processing, the use of adhesive tape or a sewing machine. In this article, we will tell you about self-sewing curtains, help you choose the right method and explain when it is worth contacting a professional tailor.
Step 1: Preparing the workplace and necessary tools for work
To effectively perform sewing work, it is important to have a well-organized and comfortable workplace. One of the most convenient options is to work with the curtains on the floor, as this allows you to fully lay out the material and have access to its entire surface. However, alternatively, a large table or ironing board can be used, depending on available space and preference.
Preparing the workspace begins with cleaning and clearing away any foreign objects that may interfere with the job. Make sure the work surface is clean and smooth so that the material can move freely and not get damaged.
In addition, you need to have all the necessary tools and materials on hand. Here is a list of the basic items that will be needed:
- СAn anti-meter tape or tailor's ruler. These will help you measure and mark the correct dimensions on the fabric. Choose the tool that is most convenient for your work.
- Needles, threads, pins. They are necessary for fixing and stitching the fabric. Needles will help to temporarily fix the parts before stitching, and threads and pins will be used to create strong and reliable seams.
- Chalk or fabric markers. These tools allow you to mark outlines, lines and places where stitches or selvedges need to be made. Choose chalk or a marker that can be easily erased or washed off the fabric.
- Iron. It is necessary to give a neat look to the finished product, as well as to smooth out creases and wrinkles in the fabric. Before using it, make sure that the iron is heated to the required temperature and that there is no dirt or residue from previous work on it.
- Sewing machine and thermal tape (as needed). If you have a sewing machine, it will make sewing much easier and faster. Heat adhesive tape can be useful for temporarily securing pieces before stitching or when working with fabrics that are difficult to secure with needles or pins.
In addition to basic tools, you can add other useful items to your workspace depending on the specific tasks to be performed. For example, special scissors for fabric, sprays for adding volume or fixing the material, different types of threads and decorative elements for decorating products.
When preparing the workplace and choosing the necessary tools, it is important to take into account your preferences and the peculiarities of a particular project. Using the right tools and creating a comfortable working environment will help you achieve a high quality of your sewing work and enjoy the creative process.
Step #2. Preparing the fabric
Preparing the fabric for curtain making is an important step that will ensure quality results and durability of the product. One way to prepare the fabric is to follow the steps below:
- Fabric evaluation and selection: Before starting the process, it is important to select the right fabric for the curtains. Keep in mind that certain types of fabrics such as velvet, velour and natural silk may be sensitive to certain treatments and therefore require special attention.
- Pre-washing: Before you start making curtains, it is recommended that you pre-wash the fabric. This will remove excess dye, dirt, and residue from the manufacturing process, as well as reduce the possibility of fabric shrinkage after final processing. It is important to familiarize yourself with the washing recommendations on the fabric label and follow them.
- Ironing: After washing, the fabric should be gently smoothed. For this, it is best to use an iron with an adjustable temperature suitable for the particular type of fabric. Make sure the iron is clean and does not leave any marks on the fabric. Ironing should be done on the back side of the fabric or use a soft cloth surface underneath to avoid damaging the pile or decorative elements.
- Preparing for shrinkage: If your fabric requires additional treatment to prevent shrinkage, several measures are recommended. For example, you can dip the fabric in warm water, gently wring it out, and let it dry a bit. You can also consider using shrinkage prevention products available at specialty stores.
- Using fixative products: For some types of fabrics, such as linen or cotton, you can use fixative products to help maintain size and shape after washing and shrinking. These products are usually applied to the fabric before processing and can be useful for maintaining the perfect shape and avoiding curling or warping of the curtains.
It is important to remember that each type of fabric has its own characteristics, so it is best to follow the manufacturer's instructions and recommendations. It is also important to remember to take safety precautions when handling hot objects such as an iron, and to make sure the fabric is completely dry before using it to make curtains.
Step #3. Measuring the required length
When estimating the preferred length, it is not necessary to remove the curtain from the window. Add 10 centimeters for indents and mark this measure on the fabric. Next, lay the curtains out on a flat surface, carefully fold the edge along the line, iron the fold and trim the excess material. It is important to keep the curtains in perfect condition and exactly to your needs.
Step #4. Fixing the edge of the curtains
With the use of heat adhesive tape, you can achieve neat and easy curtain treatments. This method is ideal for those who do not prefer sewing or do not have the ability to use needles. Prepare an iron and fleece-lined thermal adhesive tape, which can be purchased at a fabric store.
- First, carefully fold over the edge of the curtain and place the thermal adhesive tape inside the fold.
- Then use an iron to heat the glue and press it to the material.
- If the fabric is dense and heavy, it is recommended to use two rows of adhesive tape for a more secure hold.
However, before you start, it is important to determine the optimal temperature and ironing time so that the fabric will stick together but not suffer from overheating. To do this, you can use a piece of extra fabric that you have cut off from the curtains. This will allow you to do a test ironing and determine the most appropriate settings.
Please note that it is not recommended to wash the glued curtains at temperatures above 60 ℃, and over time the adhesive tape may lose its properties, so it may be necessary to reapply the glue and fix the edge of the curtain.
In summary, using thermal adhesive tape allows you to achieve a neat and convenient curtain treatment, providing an alternative to traditional stitching. This method is ideal for those who prefer easier and quicker ways of working with textiles.
In what cases should I consult a specialist?
It is possible to hem curtains made of ordinary material on your own, but if you need to shorten curtains made of heavy drape fabric or, on the contrary, of light organza, it is better to entrust this task to a professional seamstress. Professionals have the necessary skills and experience to cope with different fabrics and difficulties that may arise in the process of hemming.
Here are a few situations when it's best to call in a professional:
- Plissé Curtain Tightening: If you have plissé curtains that need to be re-tightened, professionals will be able to perform this task accurately and efficiently. They are experienced in working with such curtains and know the peculiarities of their construction.
- Custom Lambrequins: Lambrequins can be a great addition to your curtains, adding elegance and sophistication to your interior. Professional seamstresses can customize lambrequins based on your design preferences and window dimensions.
- Matching lengths for complex cut curtains: If your curtains have a complex cut with arches, drapery or decorative elements, hemming can be a challenge. Professionals with experience with these special curtains will be able to adjust the length without losing the aesthetic look and preserving the decorative details.
Important factors affecting the cost of hemstitching curtains are the type of fabric, complexity of the work, meterage and professionalism of the specialist. Turning to a private master, sewing curtains at home can cost you inexpensively, but in the atelier the price may be higher. In some cases, the master can perform hemstitching curtains right at your home, which provides convenience and saves time.
When you choose a specialist to hem curtains, it is recommended to contact proven professionals to be sure of the quality and reliability of the work. On the Uslugi.ge platform, you can find various professionals and choose the one whose services suit your budget and requirements.
Frequently Asked Questions
❓ Why do I need to hem curtains?
🔍 Hemming curtains is necessary to achieve the perfect length and aesthetic look. It helps prevent fabric from accumulating on the floor and creates a neater look for the window opening.
❓How much does it cost to hem curtains?
🔍The cost of curtain hemming can vary depending on various factors including the type of fabric, the complexity of the hemming and the choice of a professional. It is recommended that you contact a professional for an accurate estimate.
❓ Can I hem my curtains myself?
🔍 Yes, you can try to hem curtains on your own if you have the proper skills and tools. However, for the best results, it is recommended to call in the professionals, especially if you need to handle a large number of curtains or work with expensive fabric.


7 comments
Log in to leave a comment
И спасибо, что напомнили про стирку ткани перед пошивом. Этот закон не только для штор действует.